Deploying Without Tears

Goal
By the end of this post you will have deployed the Rails 8 application from Hello World Rails Speed Run to the VM we created in Baby's First Google Compute Instance. You will be type the web address from Domain Name Setup and be directed to your app from any browser.
Steps
It is move in day for the house we've been building together.
Open the config/deploy.yml in your new Rails app. This is the file that contains the configuration needed to deploy our new app.
The first key to update is the image key.
image: project-1/repository-1/kamal_demoproject-1 is the name of the project we set up in Baby's First Google Compute Instance.
repository-1 is the name of the repository we set up in Artifact Registry Setup.
kamal_demo is the name of the Rails app we created in Hello World Rails Speed Run.
Next we need to add the ip address of the VM from Baby's First Google Compute Instance. Add it to the servers key in the config/deploy.yml.
# config/deploy.yml
...
# Deploy to these servers.
servers:
  web:
    - 35.223.174.143
Under the proxy key we'll add our domain name. If you don't have a domain name, you can set the host key to the ip address of your VM and when it is time to navigate to your production app, just go to http://<ip address>.
In my case, I want both the root railsdeploymentformeremortals.com and www.railsdeploymentformeremortals.com to point to my VM.
Change the host key in proxy to hosts.
List your desired hosts. My proxy key looks like this:
# config/deploy.yml
...
proxy:
  ssl: true
  hosts:
    - railsdeploymentformeremortals.com
    - www.railsdeploymentformeremortals.com
In registry we'll have to add the password for the artifact registry we just set up. This is very confusing and annoying.
# config/deploy.yml
...
# Credentials for your image host.
registry:
  # Specify the registry server, if you're not using Docker Hub
  server: us-docker.pkg.dev
  username: _json_key_base64
  password:
    - KAMAL_REGISTRY_PASSWORD
server: us-docker.pkg.dev - This indicates you are using Google Cloud's Artifact Registry, specifically the US region.
username: _json_key_base64 - This is a special authentication method used by Google Cloud. Instead of a traditional username, _json_key_base64 tells the system that the password will be a Base64-encoded service account key from Google Cloud.
password: [KAMAL_REGISTRY_PASSWORD] - This references an environment variable called KAMAL_REGISTRY_PASSWORD which contains Base64-encoded Google Cloud service account key we set up in Kamal Secrets Are No Fun. This is a security best practice as it keeps sensitive credentials out of your configuration files.
We need to specify which account we want to use when logging into our VM - just like how a computer might have multiple user accounts, a server can have multiple users set up on it, and you need to say which one you're connecting as. root is the default user in kamal but, not on our Compute Engine VM.
We need to update the user we'll use for SSH'ing. The username should be your username that you used in Baby's First Google Compute Instance to ssh onto the VM.
# config/deploy.yml
...
# Use a different ssh user than root
ssh:
  user: jesse
Now lets commit our changes.
Run
git add .Run
git commit -m "Configure deploy"Now it is time to run our deploy command.
kamal deployThe first time you run this command, it will take a few minutes. But, subsequent runs should be significantly faster.
Releasing the deploy lock...
  Finished all in 333.7 seconds
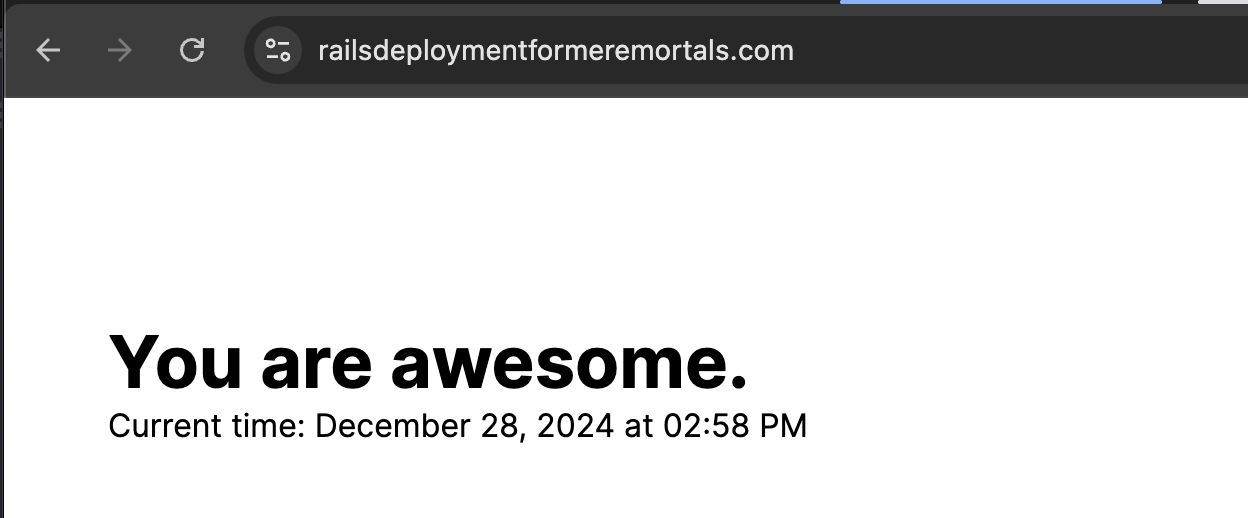
Navigate to your new app. Check both railsdeploymentformeremortals.com and the www.railsdeploymentformeremortals.com to confirm everything is working.

Conclusion
You now have a very normal and compelling deployment and hosting strategy for your next Rails hobby application.
It only took 10 steps, plus a preface on tooling.
Remember to stop your VM, delete your VM, or delete your GCP project to avoid credit card charges altogether.
Let me know how this worked for your and what you build.
Source documentation
- Kamal proxy
- Delete a Compute Engine Instance
- Suspend, stop, or reset Compute Engine Instances
- Creating and Managing Projects
Member discussion