Artifact Registry Setup

Goal
The goal of this post is to setup Artifact Registry in our Google Cloud project from Baby's First Google Compute Instance. We will use this registry to store our Docker images which is how we will be deploying the app we just created in Hello World Rails Speed Run.
Think of an Artifact Registry like a construction company's central warehouse. In this project, it's where you store all your pre-fabricated building components (Docker images).
Instead of building everything from raw materials (source code) at each construction site (server), you have ready-made components stored in this warehouse
Your Docker images are like pre-fabricated building modules, completely assembled and ready to be transported and installed.
Just like how modern construction uses pre-fabricated components to speed up building and ensure consistency across multiple sites, your Artifact Registry lets you store pre-built application containers that can be quickly "installed" on any server. This is much more efficient than building everything from scratch each time you need to deploy.
Steps
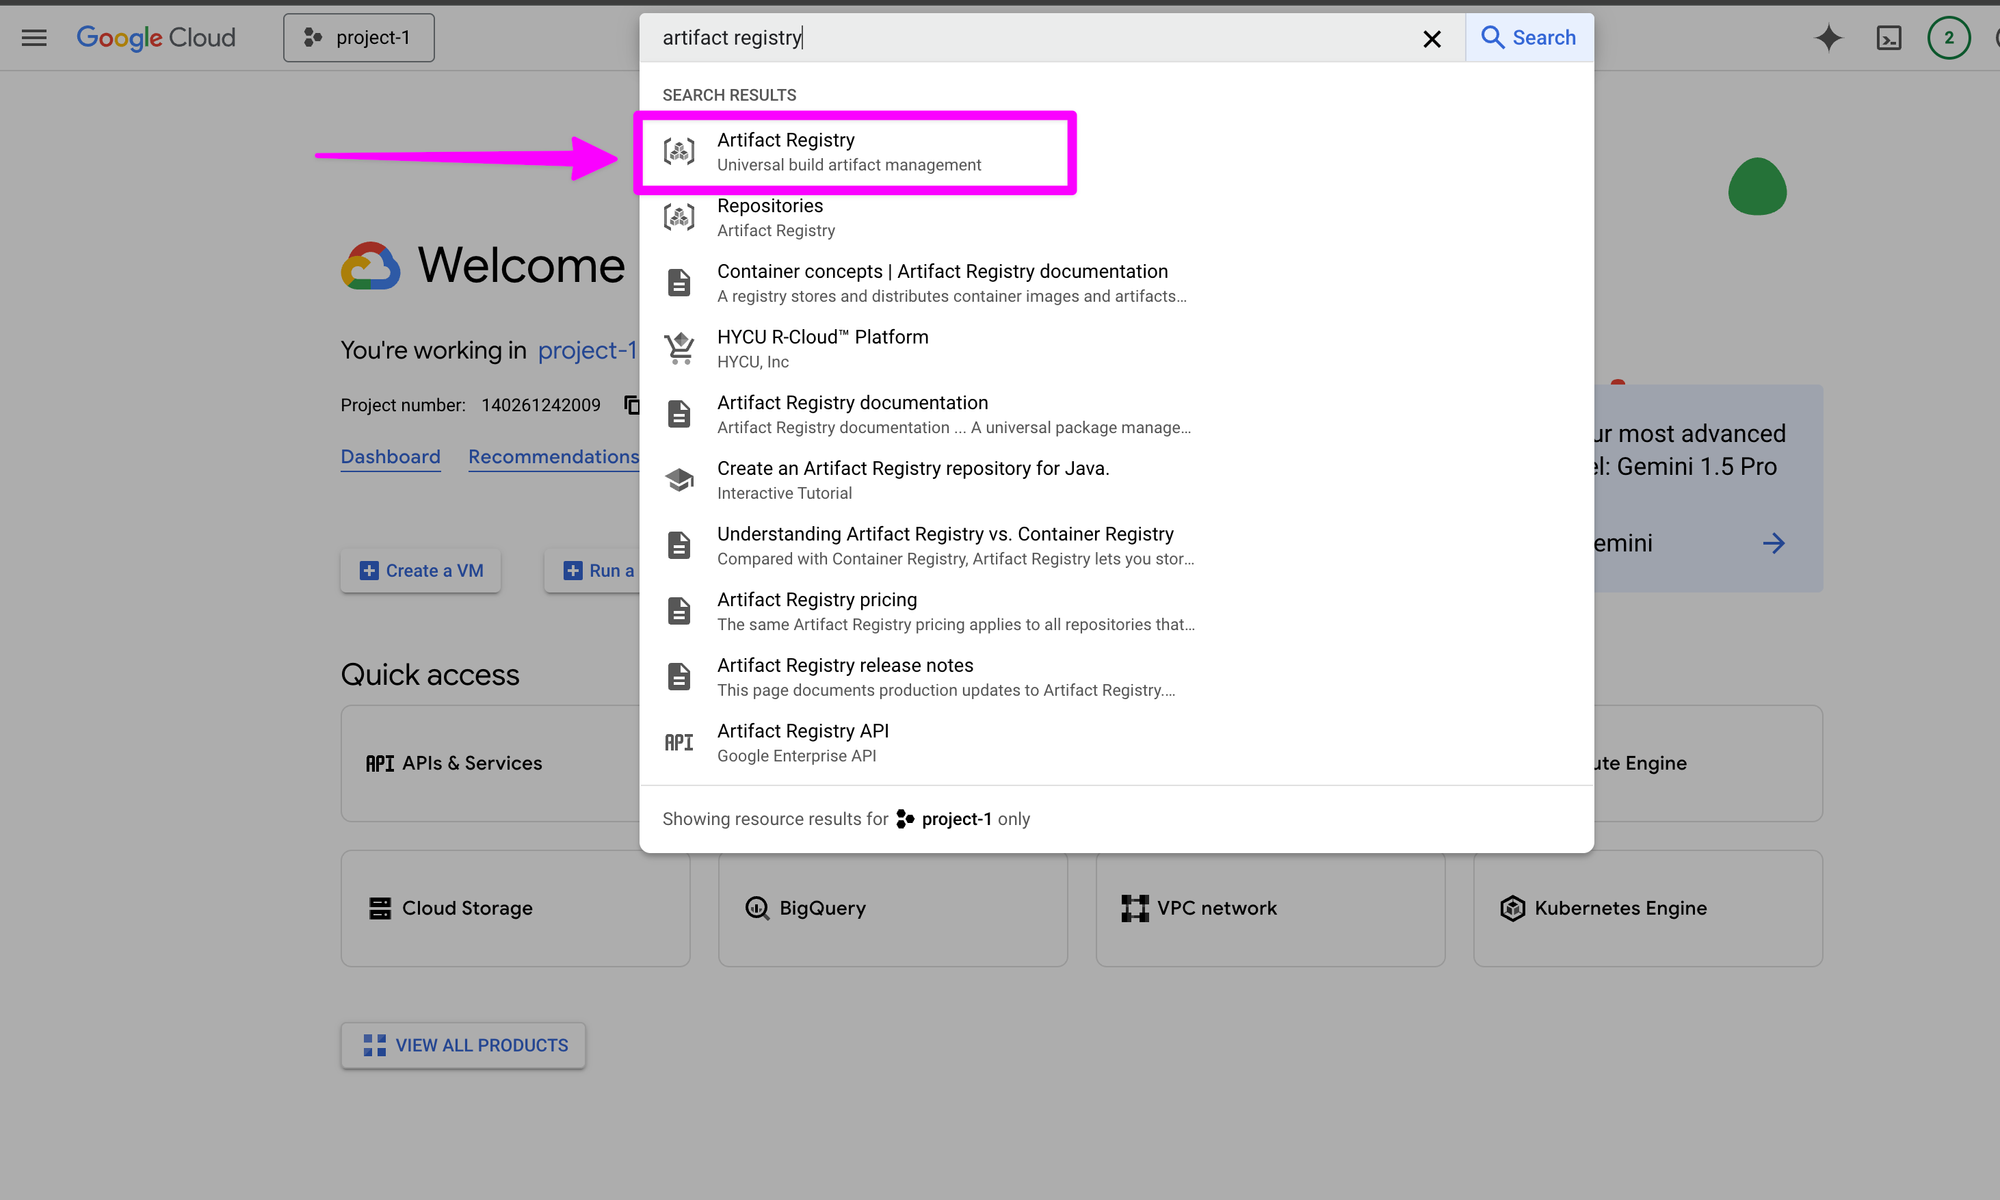
In your Google Cloud Console, search for "artifact registry" and click on "Artifact Registry" in the search results.
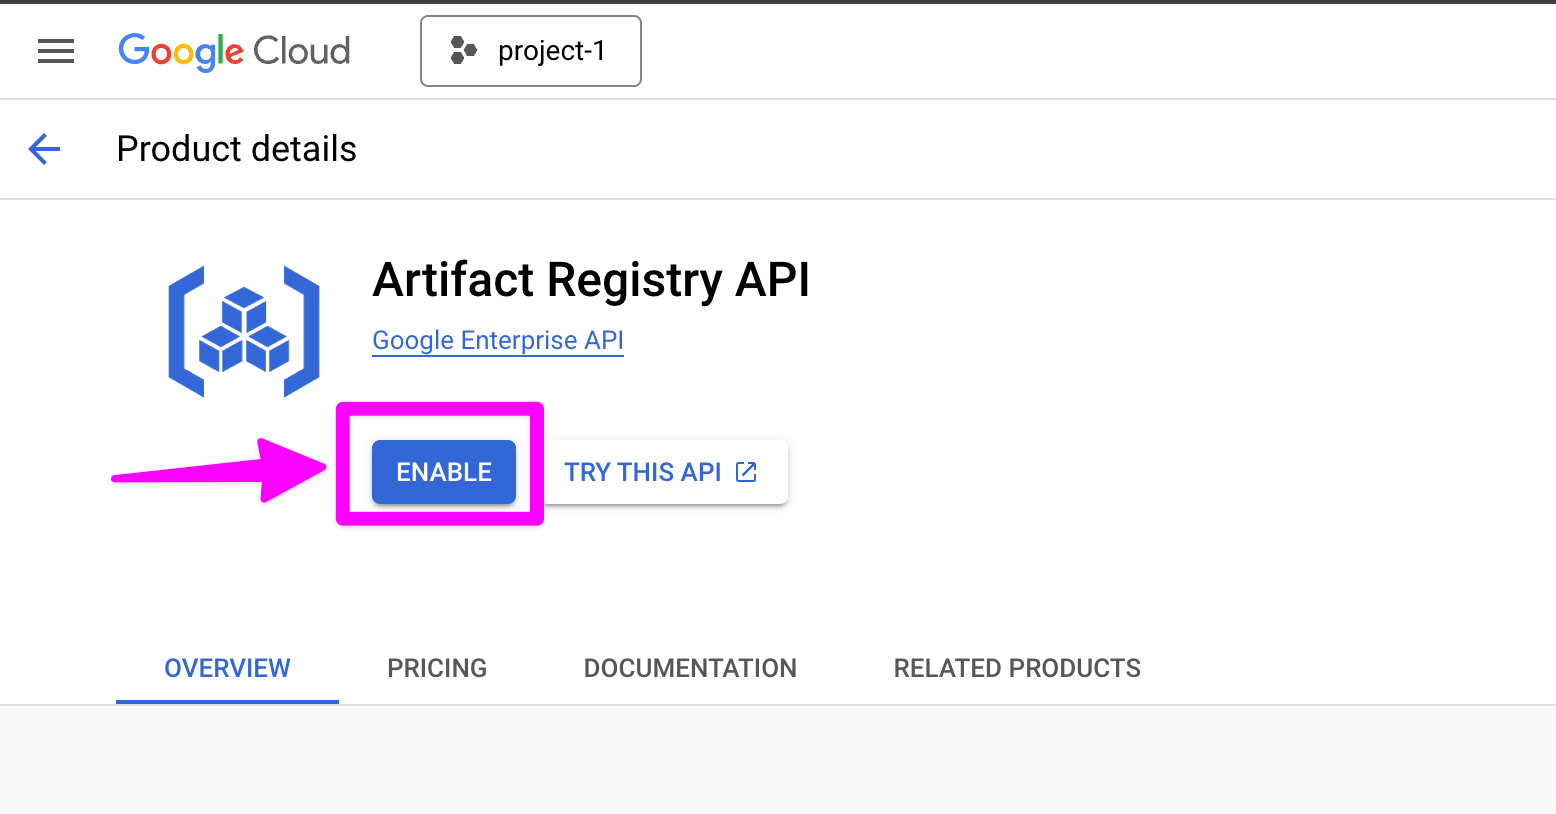
Enable the Artifact Registry API.
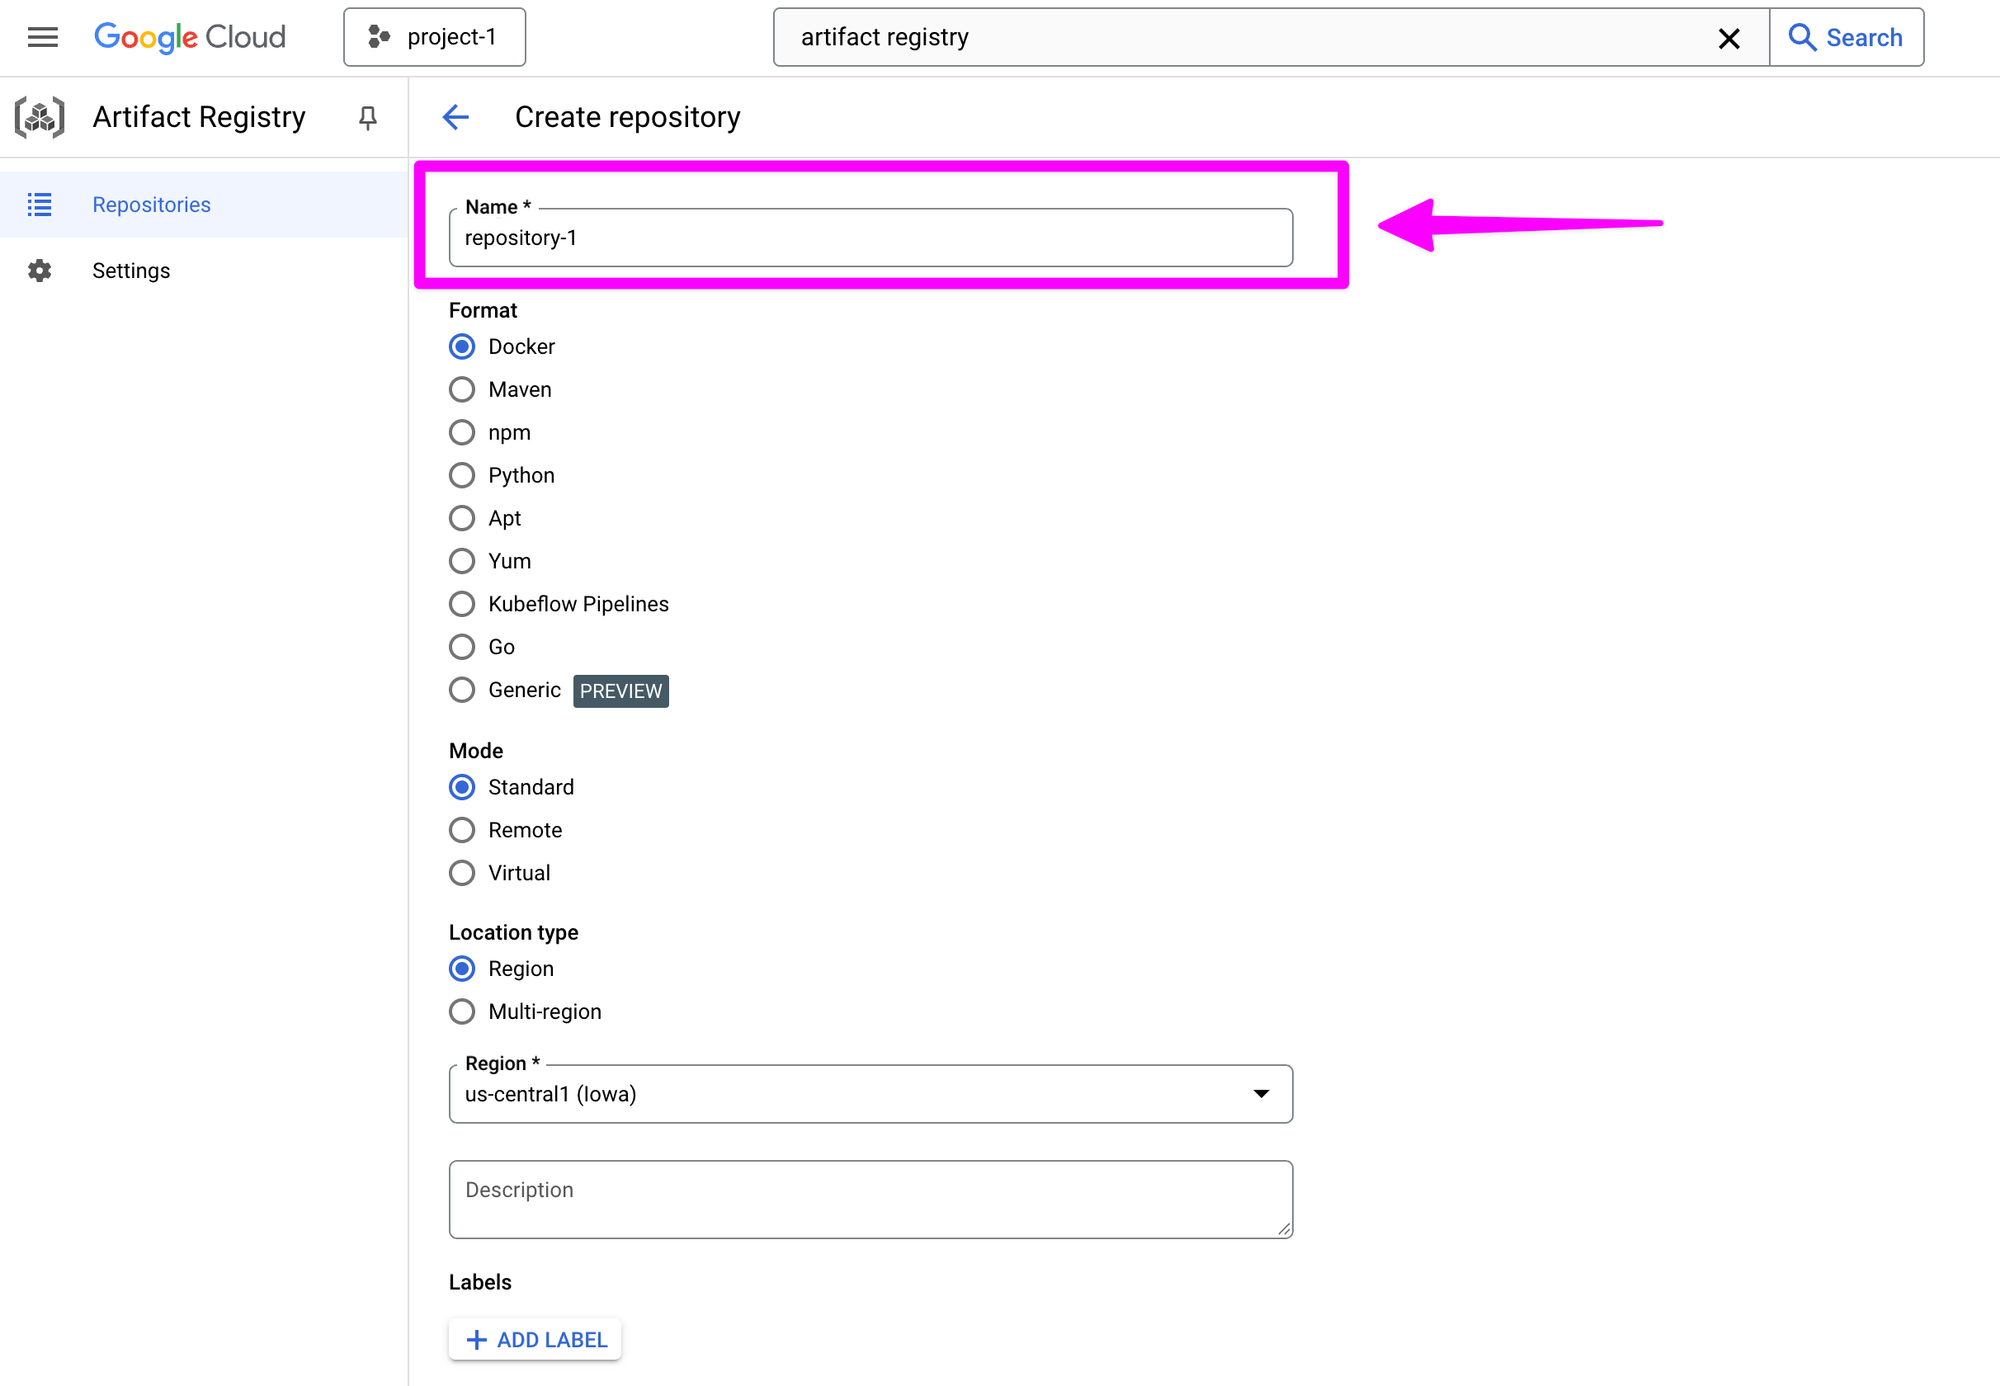
Next we'll create a repository

Add a name for the repository. In this case, I'll use repository-1.
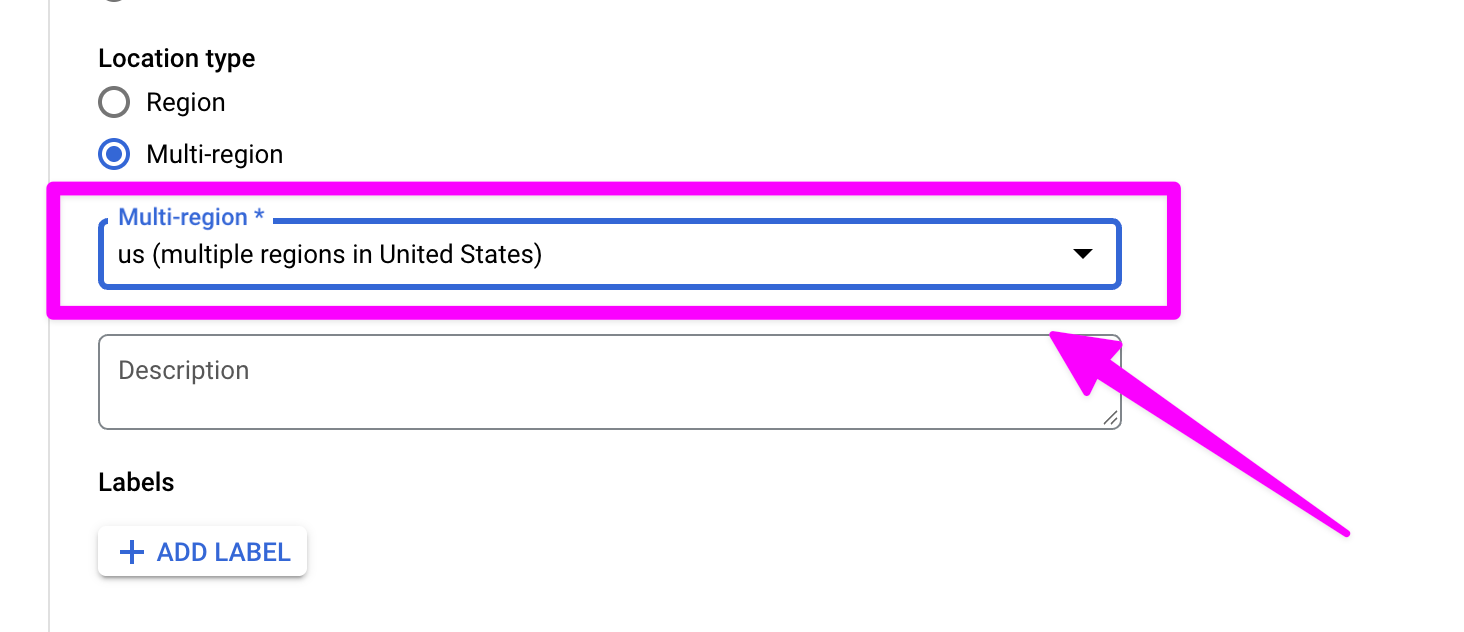
Choose "Multi-region" for location type.

Choose whichever region makes sense for your geography. If you are in the US, you should probably pick us.
Disable vulnerability scanning. I believe there is a cost associated with this and it is beyond the scope of this tutorial.

Click "Create"

And now we have an artifact repository.
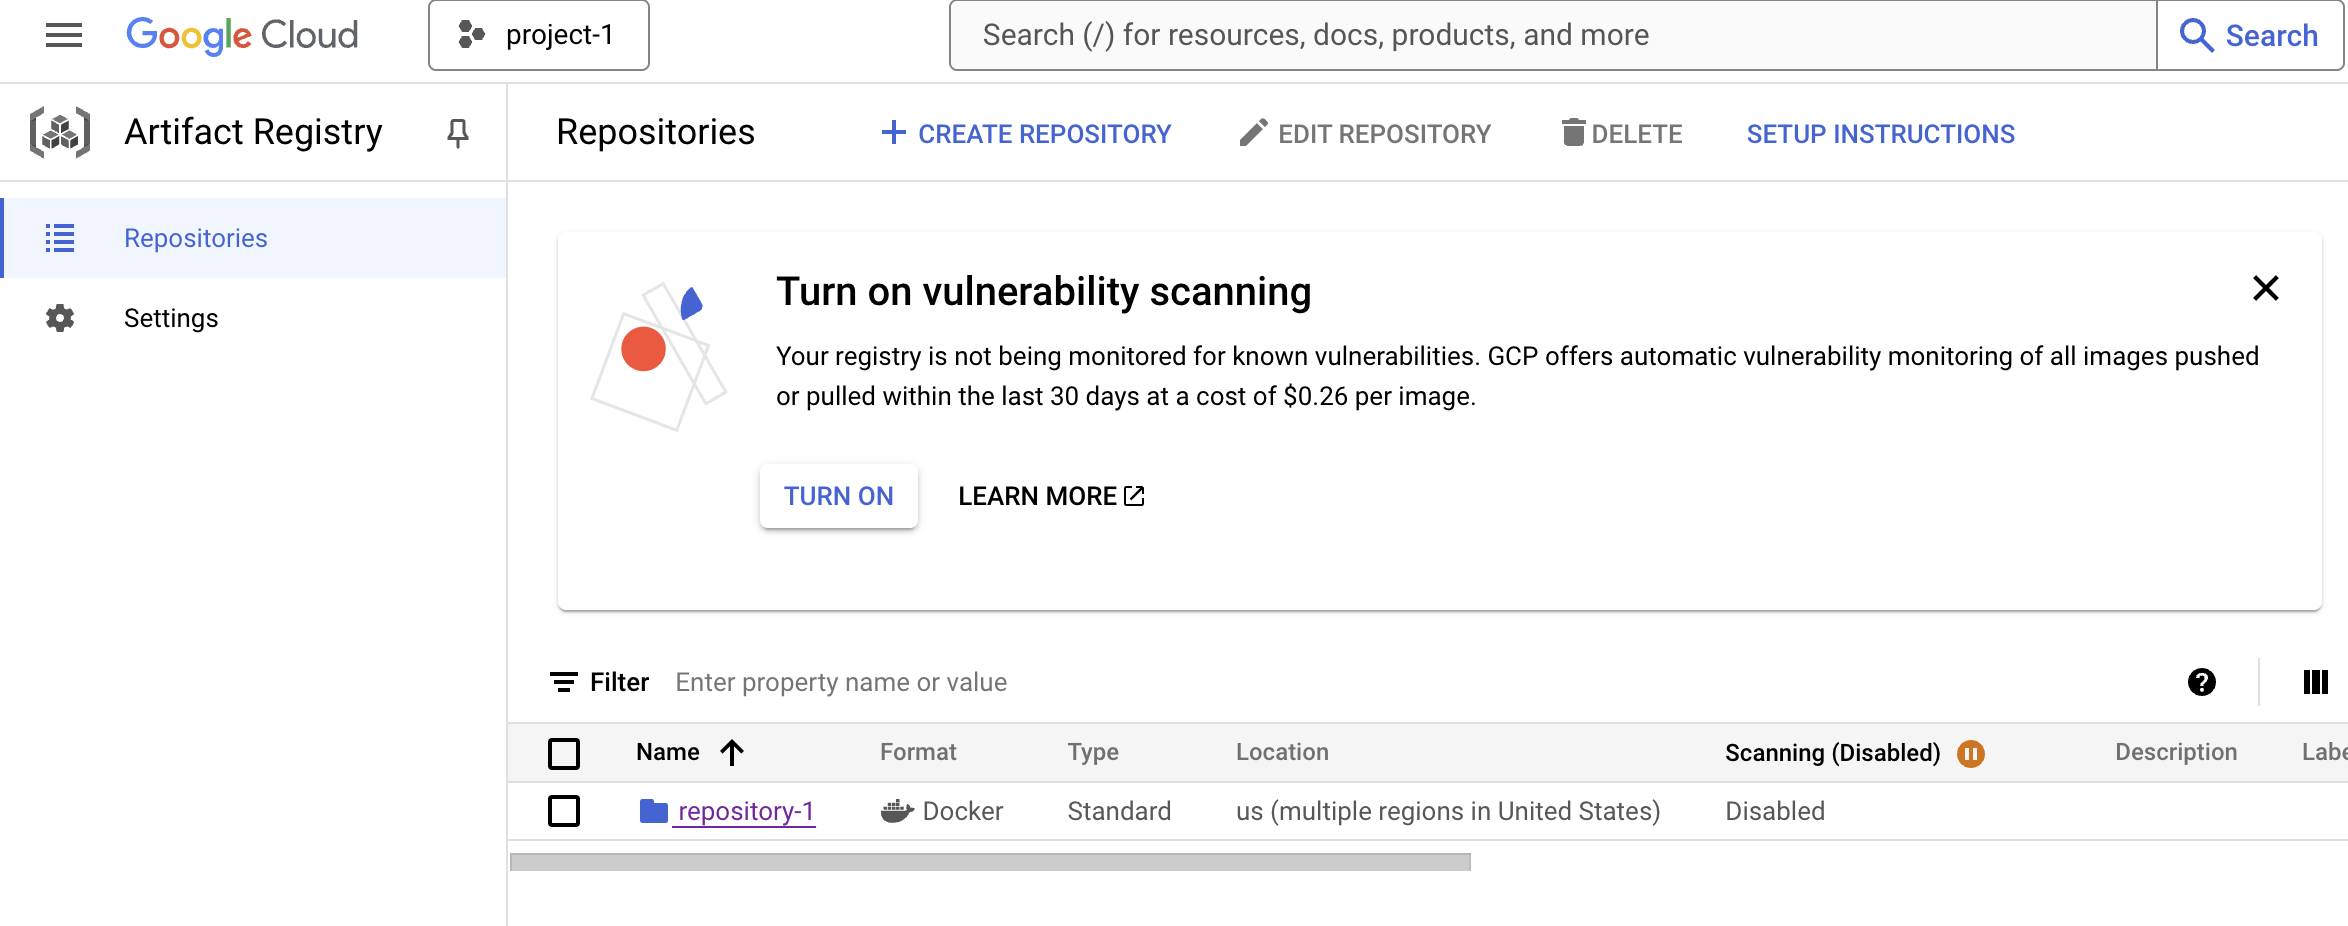
We need to give our project's service account access to our new repository. In Google Cloud Platform, a service account is an identity that you create to let different parts of your system access only the specific resources they need. These service accounts can work automatically without human intervention.
Think about our housing construction metaphor. You, as the homeowner, have full access to everything. But you don't want to give your house keys (your main Google Cloud credentials) to every contractor who needs to work on your house.
Instead, you create special limited-access keys (service accounts) for different contractors. For example, the plumber gets a key that only opens doors to areas with pipes.
Search for IAM in Google Cloud Console.
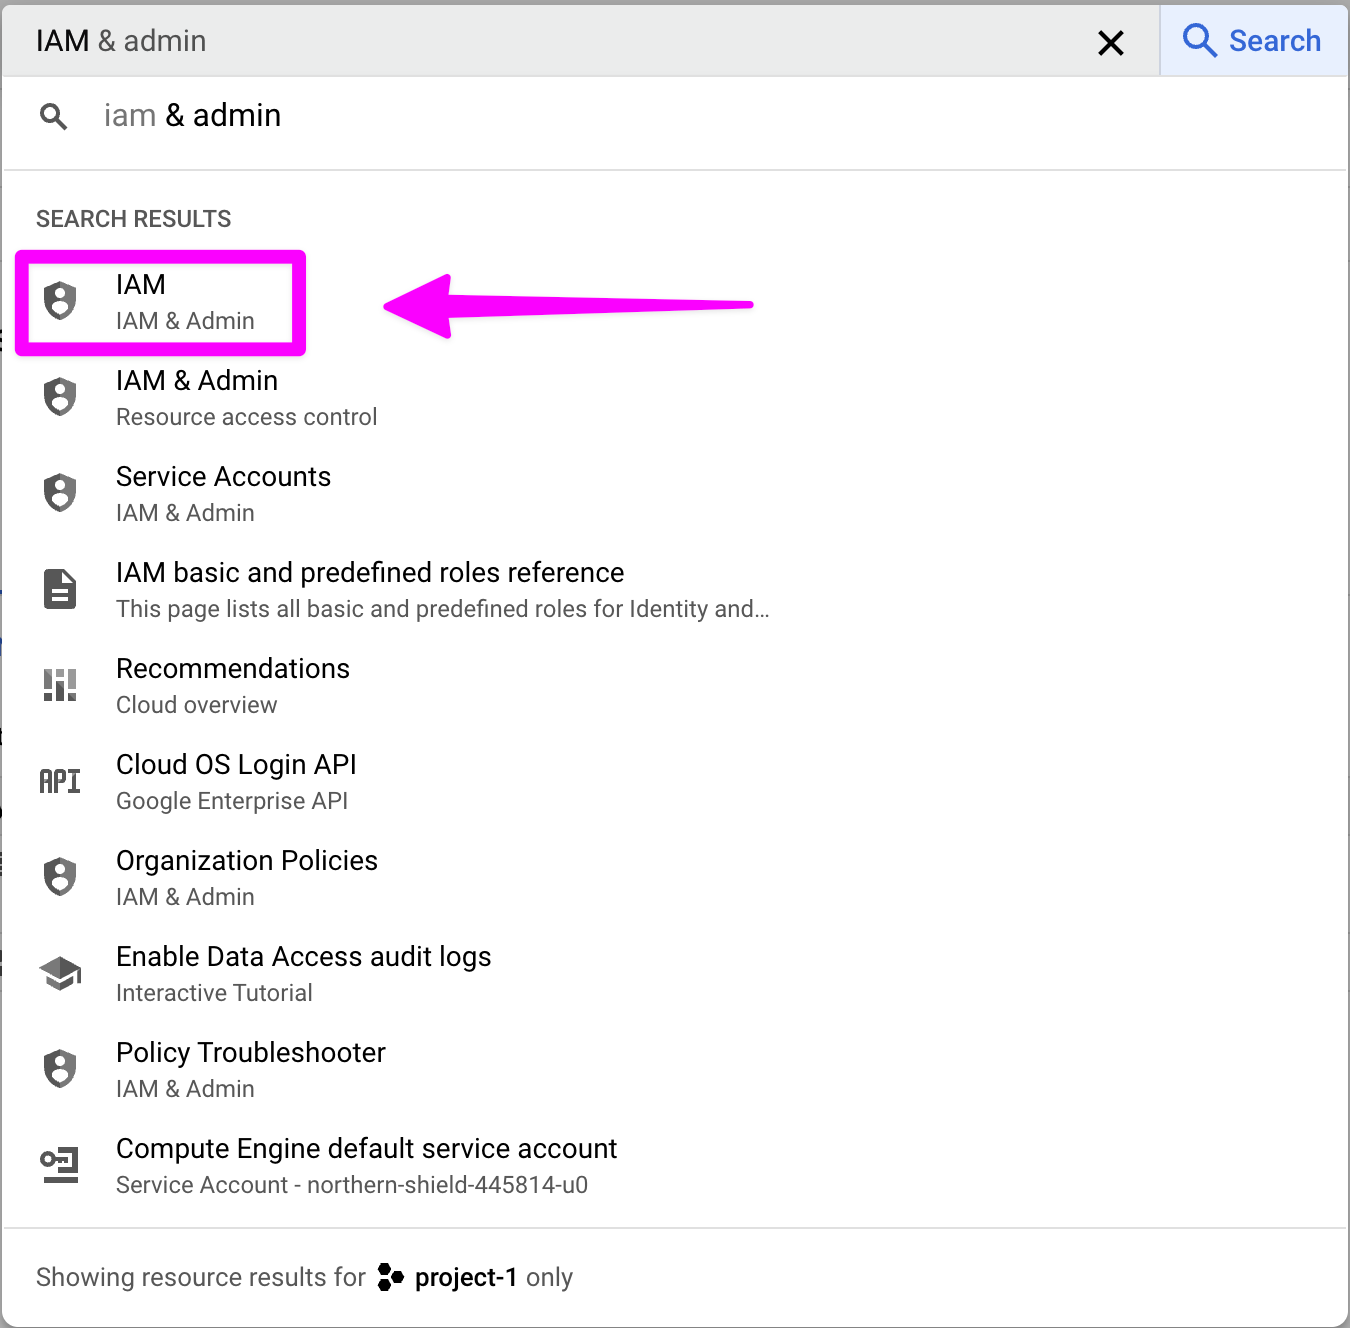
Click on the edit icon in the service account row.

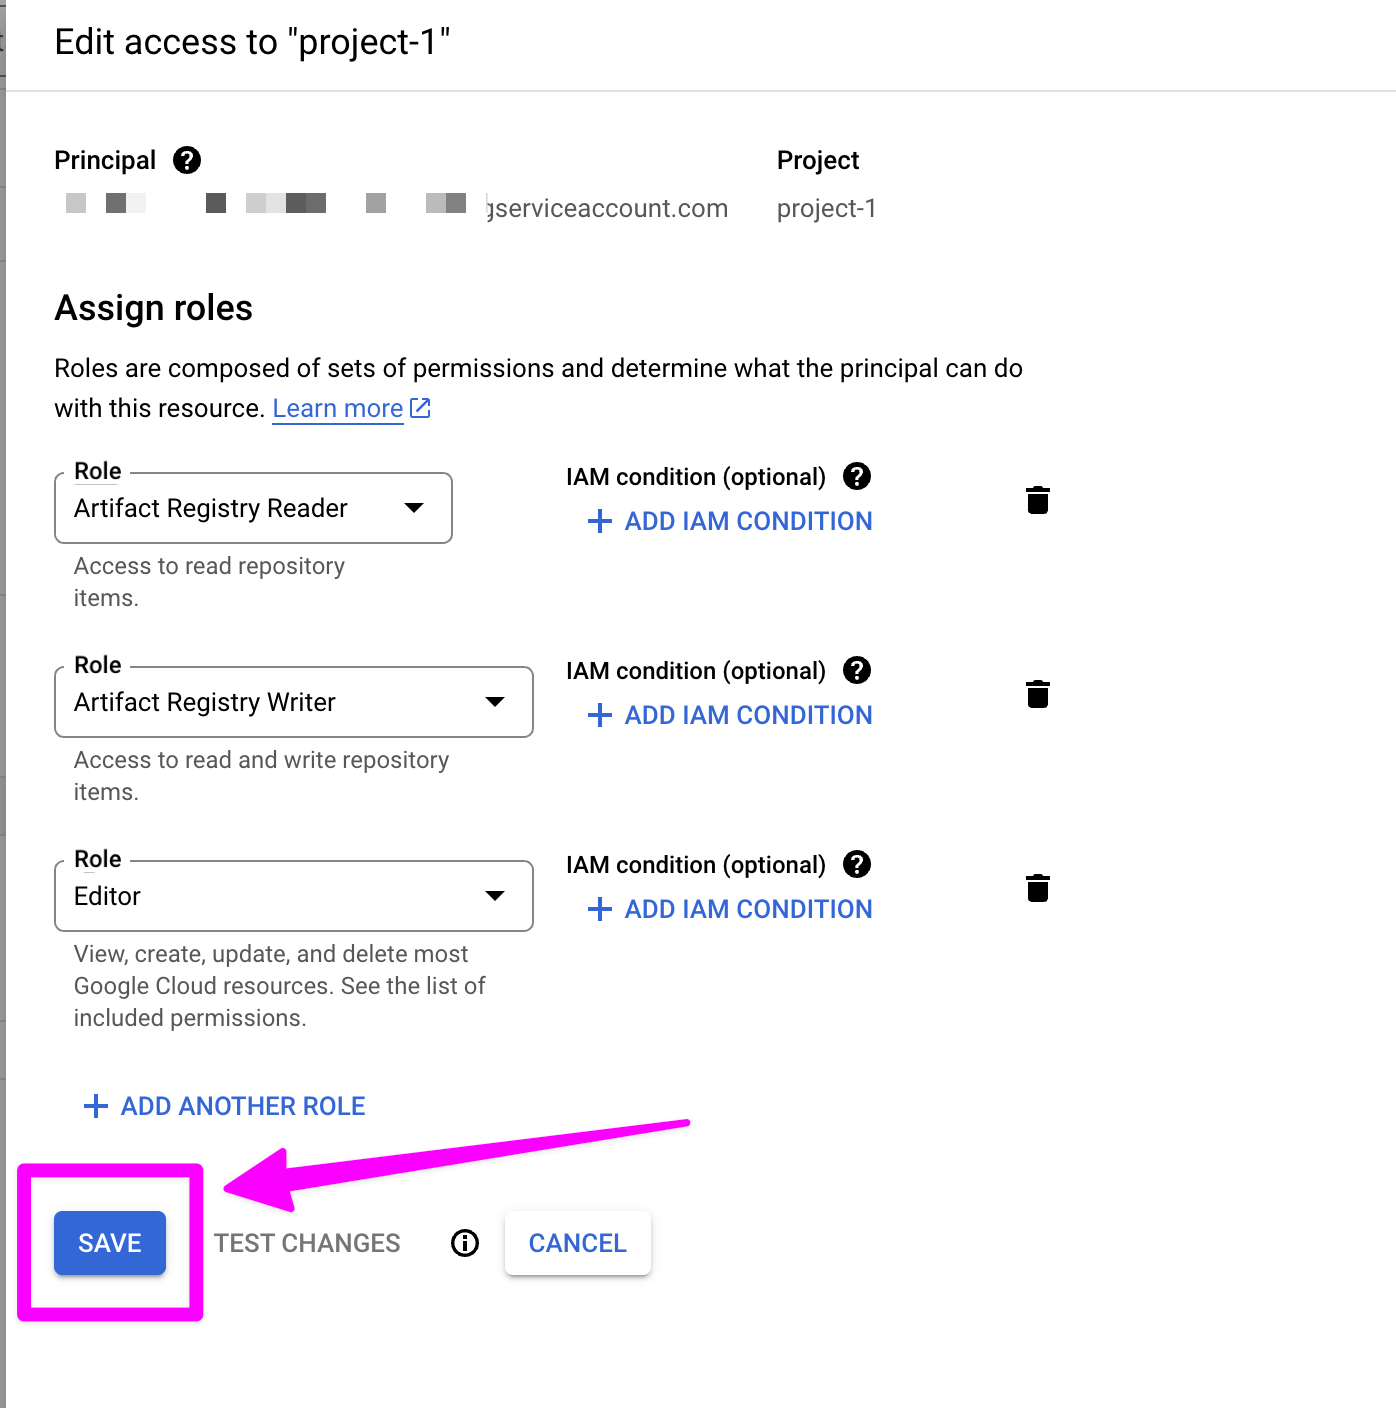
Click "ADD ANOTHER ROLE"

Add two roles: Artifact Registry Reader and Artifact Registry Writer .

Click "SAVE".
Conclusion
We have just setup Artifact Registry, created a new repository, and used IAM & Admin to allow our service account to read and write to our repository.
In Trust 1Password with your JSON Key we will download and safely store a JSON key so Kamal can act as our service account and make use of our Artifact Registry repository to deploy our Rails app.
Source documentation
Next post
Trust 1Password with your JSON Key
Member discussion