Trust 1Password with your JSON Key

Goal
By the end of this post, you will have an encoded JSON key stored in a Kamal supported password manager.
We will get the JSON key from Google Cloud Platform. We will use this key to authenticate our service account using Kamal against our Artifact Registry repository in the cloud. Finally we will create a 1Password password, which we will then be able to read using the 1Password command line interface (CLI).
If you do not use one of the supported password managers (1Password, LastPass, and Bitwarden), you can store your JSON key in an .env file, but that is not in scope for this guide. See kamal secrets for more information.
As is always the case with passwords that grant access to cloud infrastructure fueled by automated billing, proceed with care.
Steps
First we need to create a password for our service account to use in order to access the Artifact Registry repository we created in Artifact Registry Setup. The password will be in the form of a JSON key.
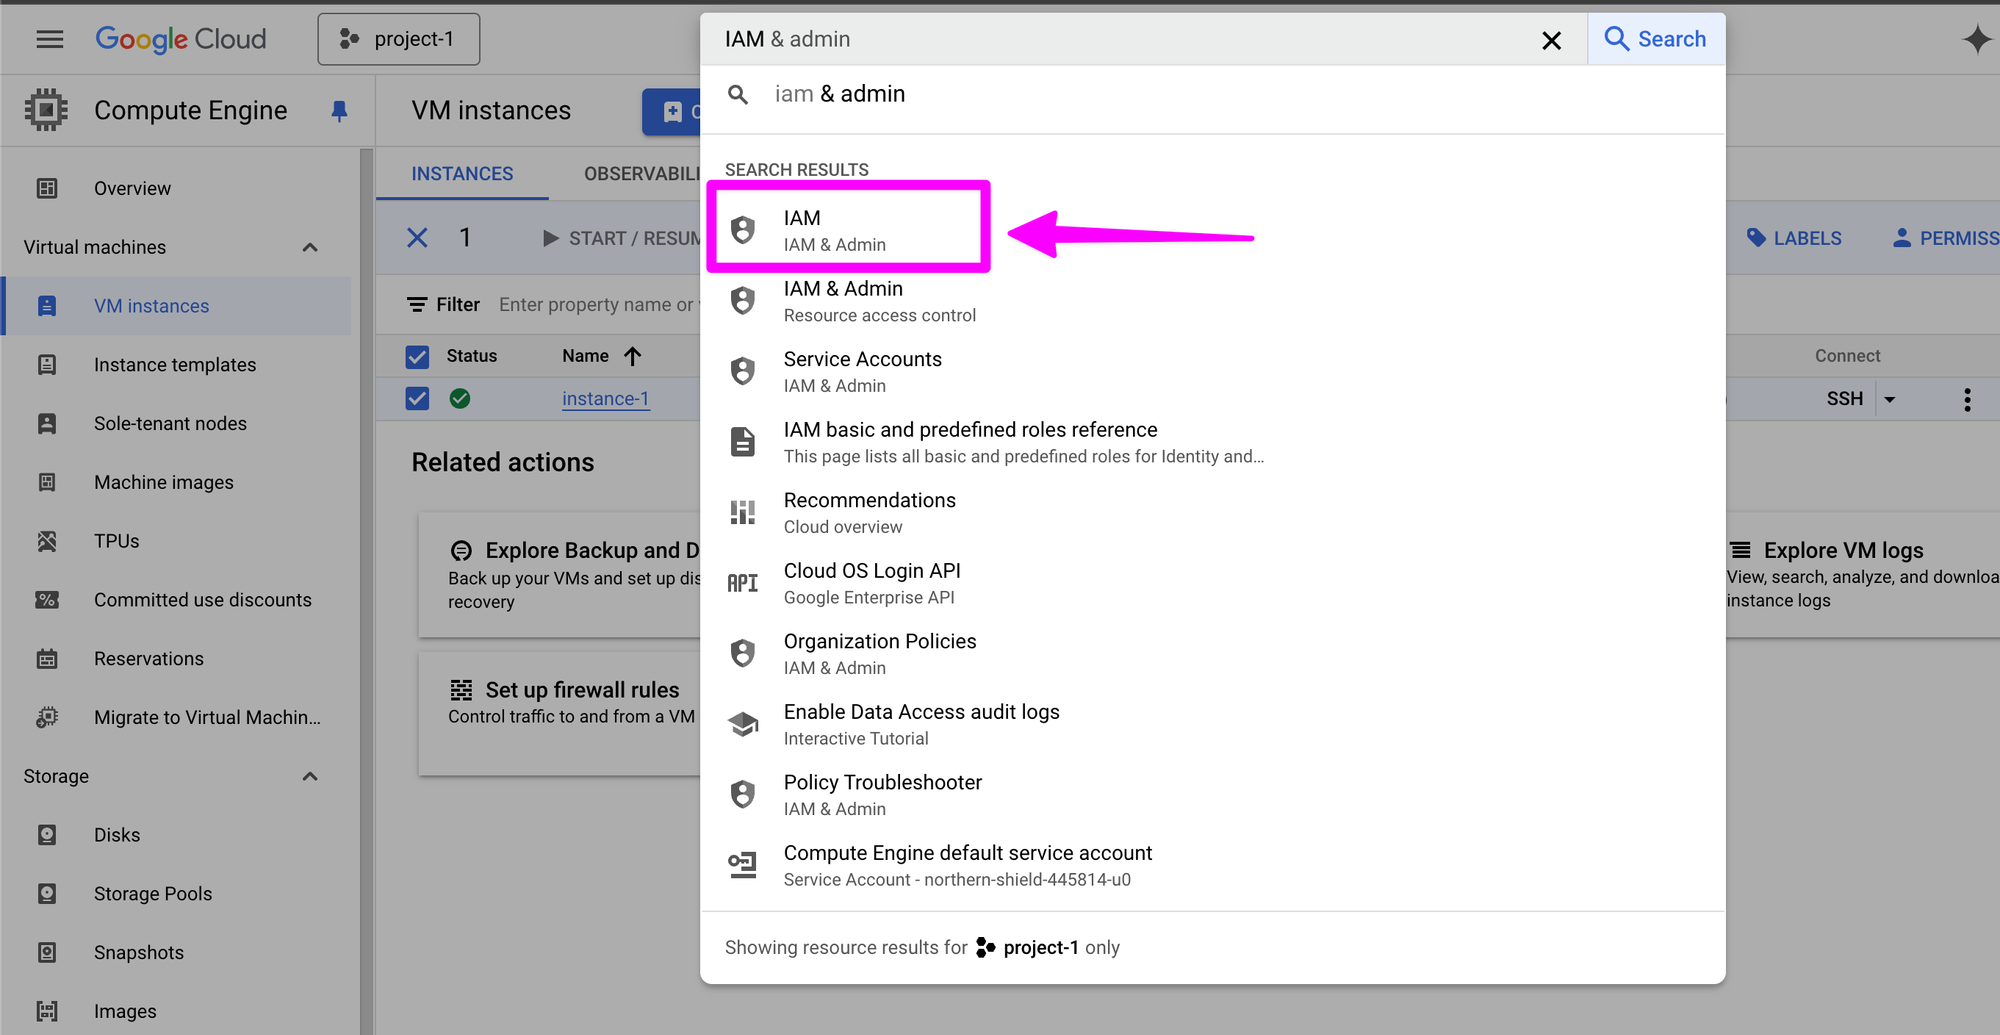
Go to Google Cloud Console and search for "IAM & admin". Click on "IAM" in the search results.

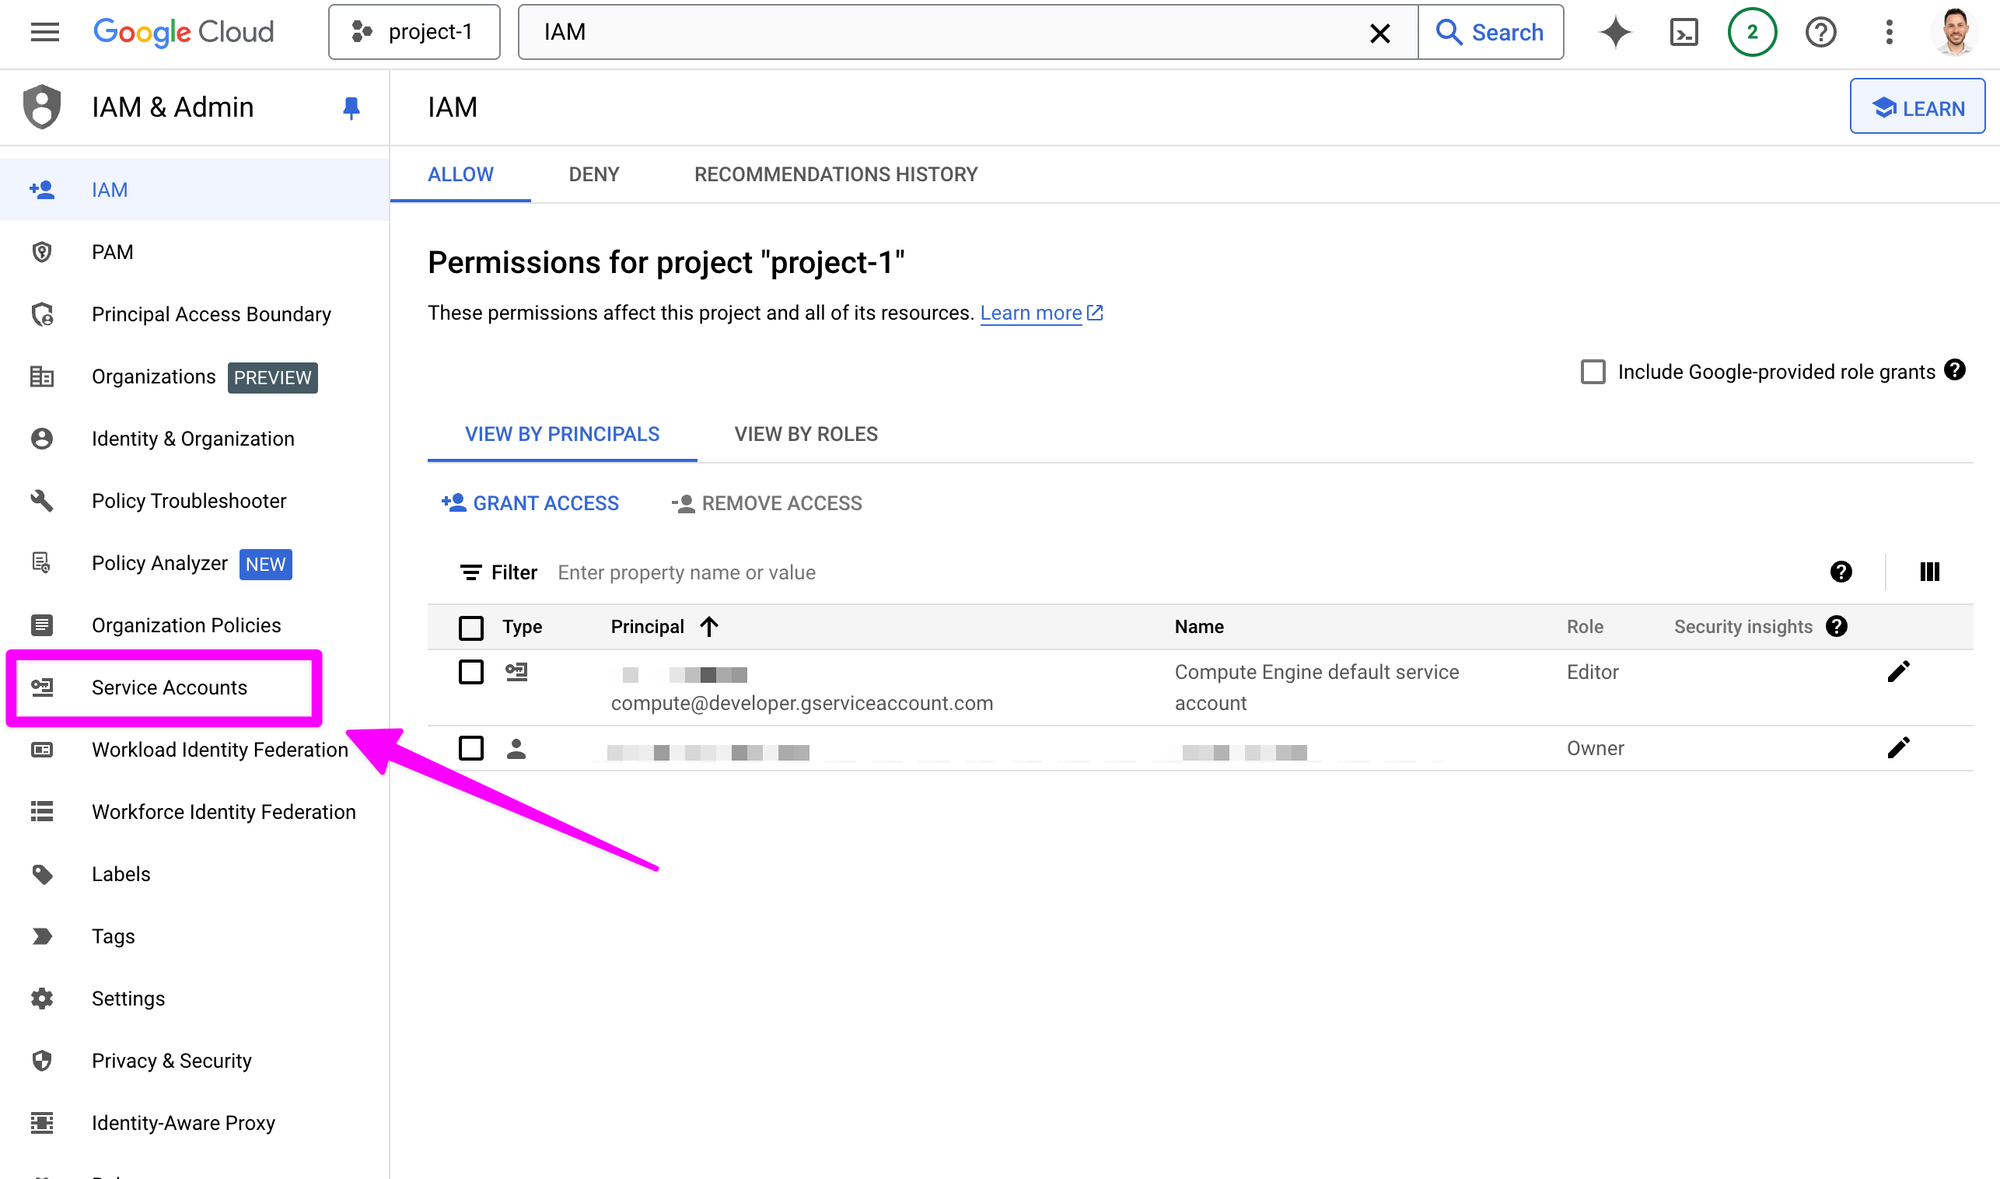
We need to create a service account key. Click on "Service Accounts."

Next check the box next to your service account. A service account "represents a Google Cloud service identity." We will use this account to deploy our app.
Click "Manage keys" in the "Actions" menu.

Click on "Create key" from the "ADD KEY" dropdown.

Choose JSON and click "CREATE".

This will prompt you to name your json file. You can use the project name, in this case project-1.json.
Now we need to encode the JSON file we just downloaded and store it in 1Password.
In 1Password I setup a keys vault for my developer projects. Visit 1Password for documentation on setting up a new vault. Create a new item in 1Password called project-1.

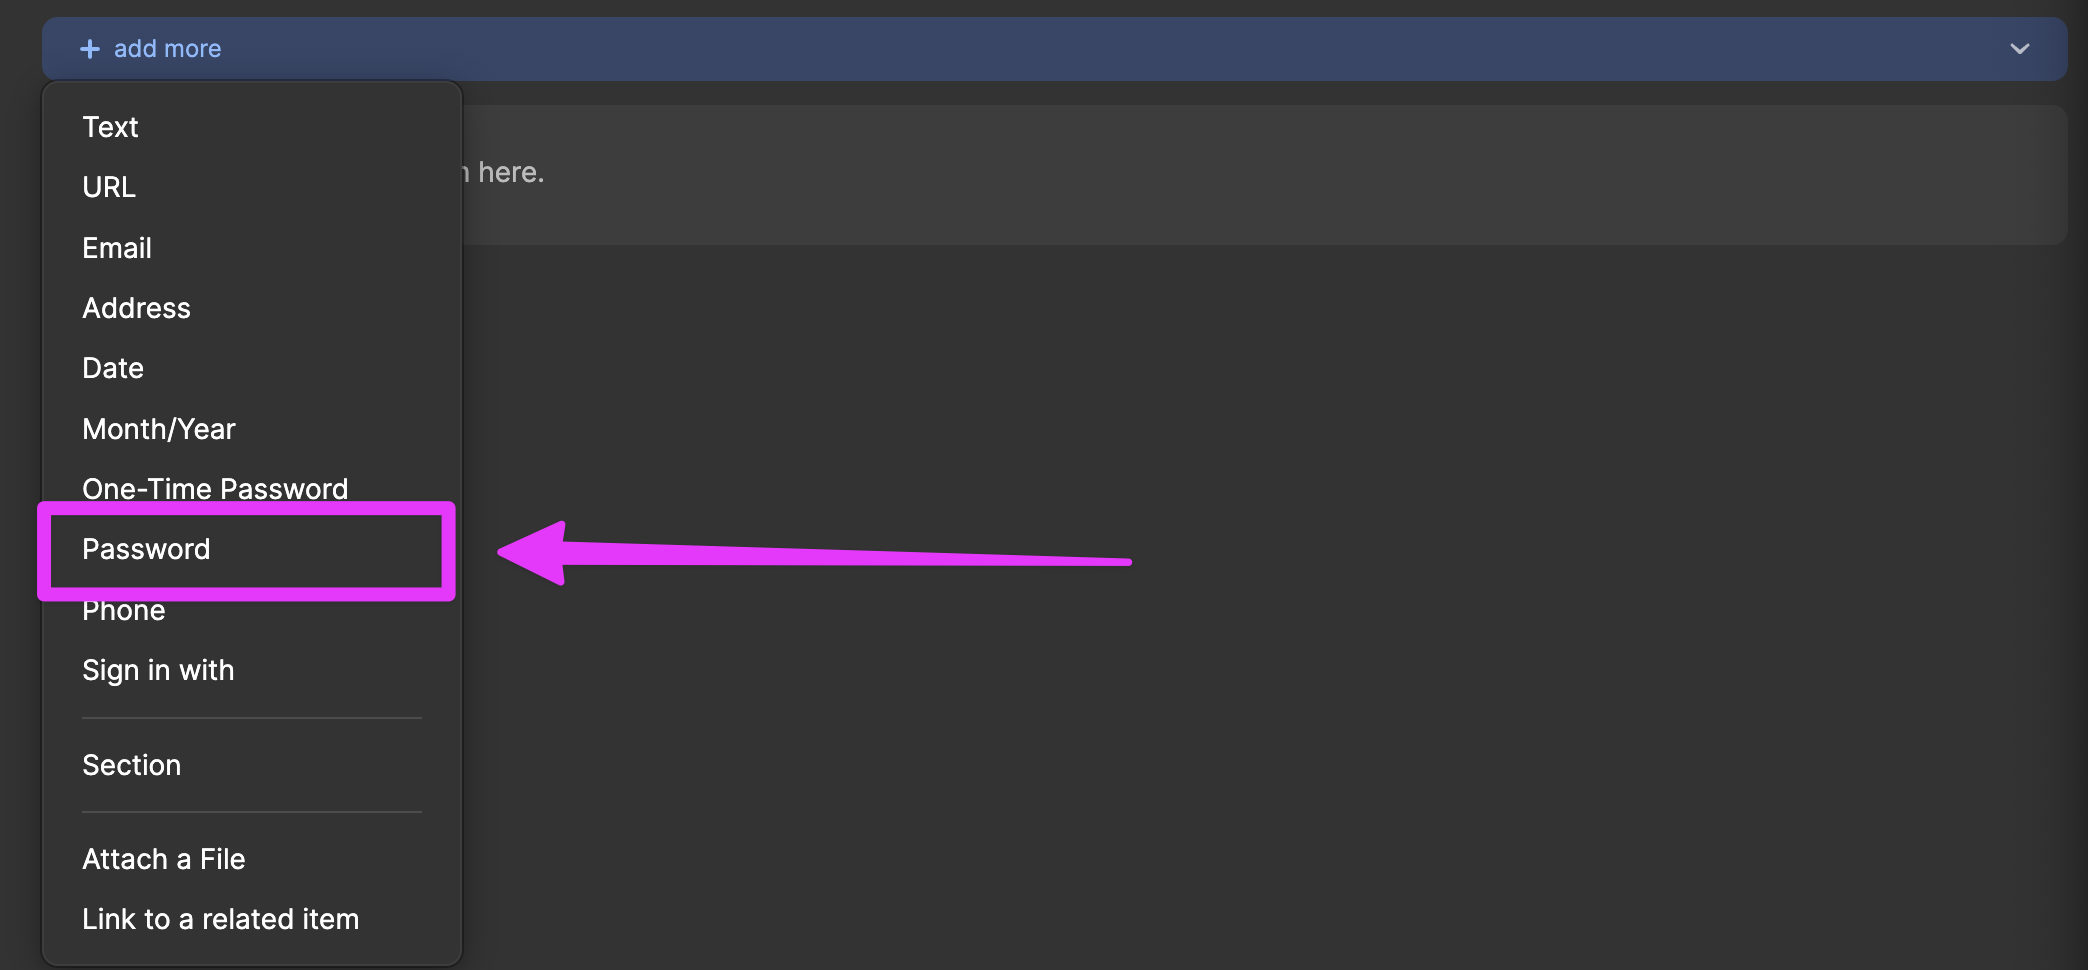
Click "+ add more" in the project-1 item. Choose "Password".

Replace the password key with KAMAL_REGISTRY_PASSWORD. This is the name of the env variable where we will load the Artifact Registry password in order to access our Docker images.

Next we need to convert the project-1.json into a base64 encoded string. This string, rather than the json file itself, will be how we authenticate with the Artifact Registry we set up in Artifact Registry Setup. We will store the base64 encoded string as the KAMAL_REGISTRY_PASSWORD.
Encode the project-1.json by running:
base64 -i ~/Desktop/project-1.json | tr -d "\\n"The output looks something like this, though much longer.
ewogICJ0eX...Qo=Paste the base64 string from base64 -i ~/Desktop/project-1.json | tr -d "\n" into the password field.
I also like to add the actual json file as well as an attachment to the item, but that is optional.

Conclusion
We now have KAMAL_REGISTRY_PASSWORD saved in 1Password. This will give Kamal access to read and write Docker images to our Artifact Registry repository. In Kamal Secrets Are No Fun we'll connect this credential to our kamal/.secrets file.
Member discussion